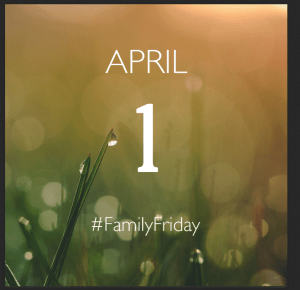
Start with a background image and place your text (I used Gill Sans for words and Gloucester for the 1):
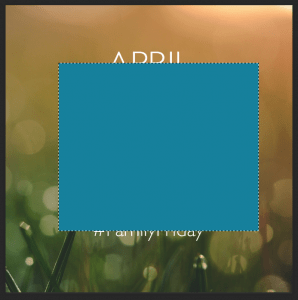
Create a new layer and using the selection tool, create a box approximately the height of your image spacing and fill it with a color. I like to use a color that has nothing to do with the image so I can clearly see where that shape is. Size and position doesn’t have to be exact – it can be adjusted later:
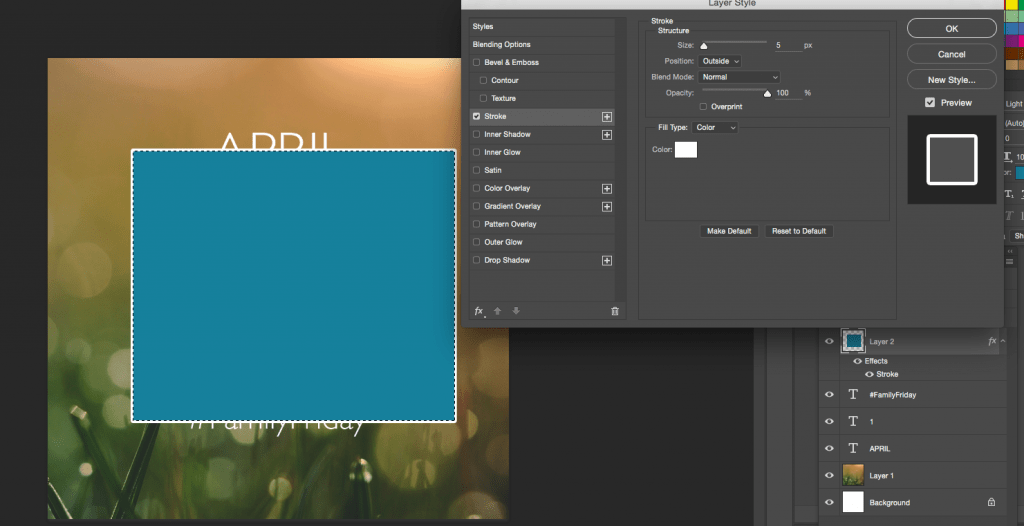
Double click the layer where the box is to open the “Layer Style” options. Check “Stroke” in the left column to put a line around the entire selection.
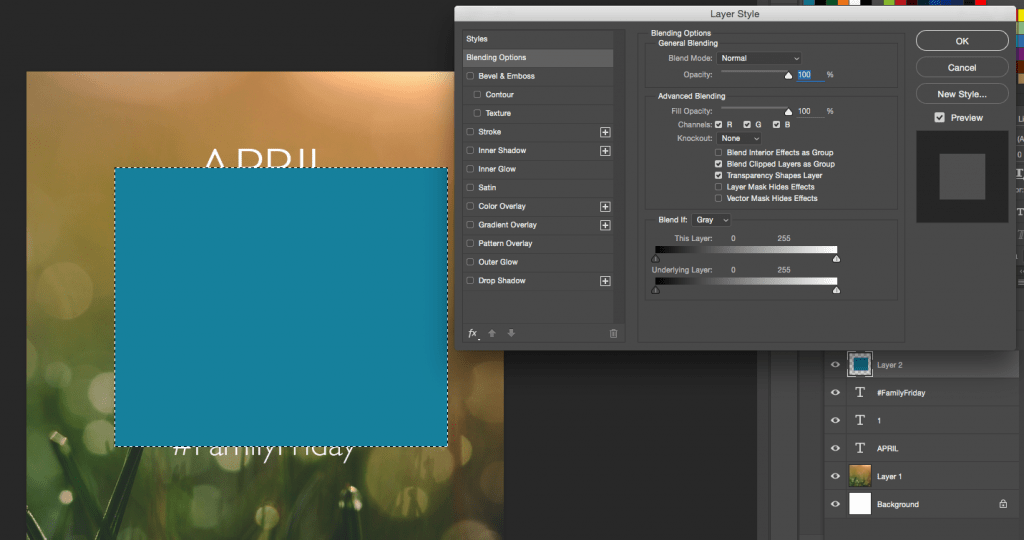
In the “Stroke’ dialog, adjust the size (in this case I used 5 pixels) and the color field at the bottom. I changed mine to white: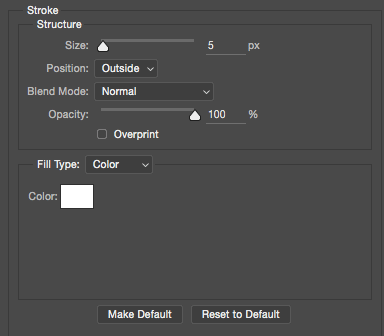
Now your colored box will have a 5pox white stroke around the outside. Close the “Layer Style” box by clicking OK:
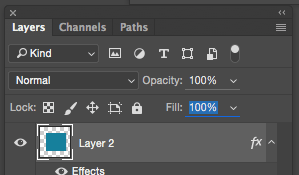
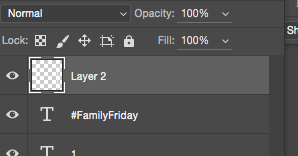
To remove the blue fill from the box, select the layer, and reduce the fill percentage from “100%” to “0%”:
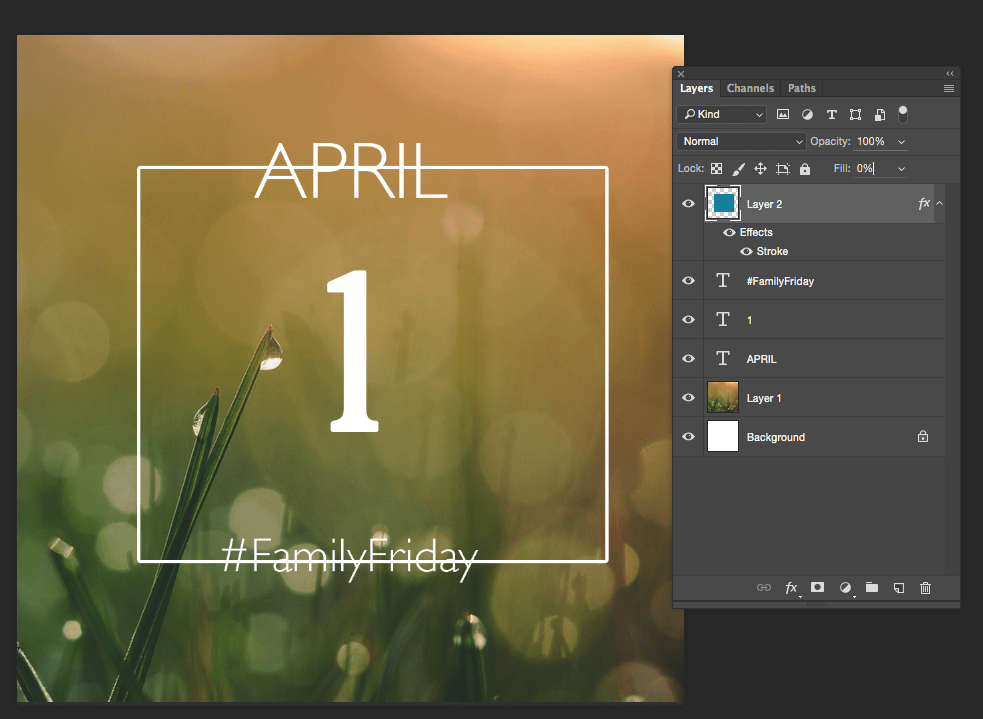
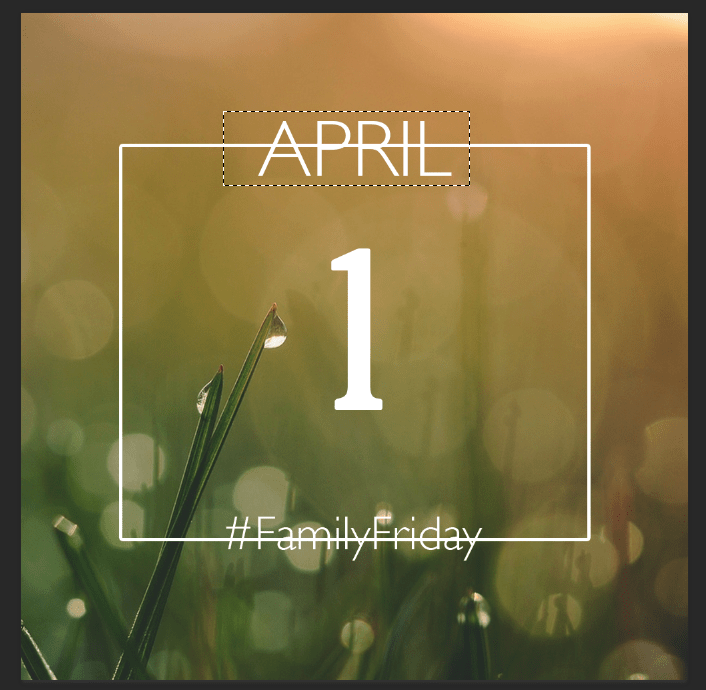
This is what your image will look like:
Next, we have to convert that layer style to an editable shape (If you just take an eraser and erase a portion of the line, you’re actually just changing the shape of the 0% blue box, and the stoke will appear around the perimeter of whatever you erase.).
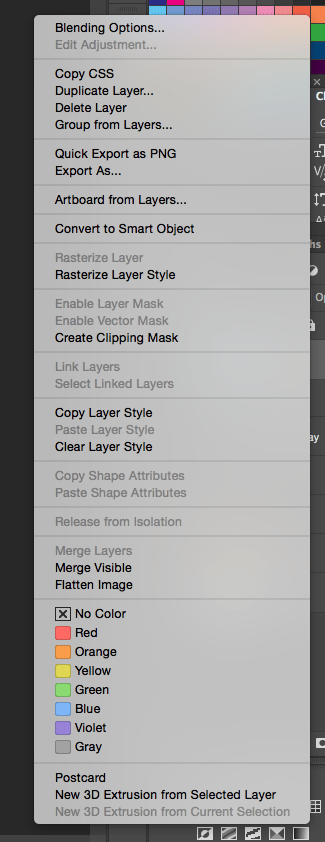
Right click the layer and choose “Rasterize Layer Style”:
This will now make your layer just that outline without the blue box:
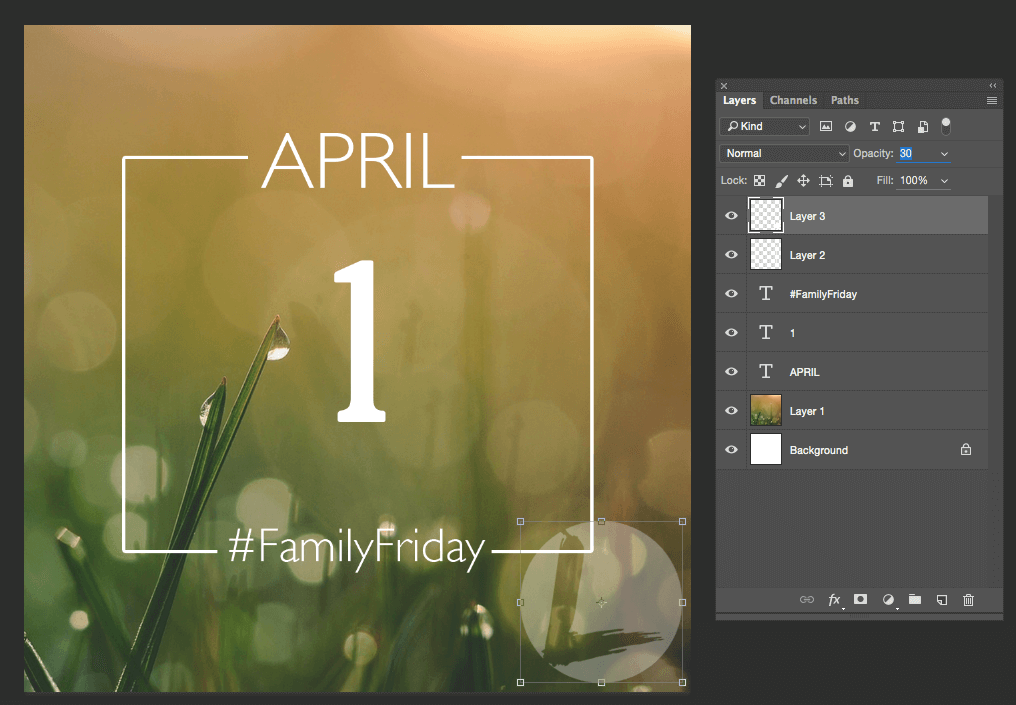
Select all of the layers including your background image and use the “Center Align” button at the top of the window to align all of your text and your box centered with the canvas:

Now that everything is aligned, create a selection box around the text, then select your box layer and delete. It will delete the portion of the line that you’ve selected leaving only the words ands what looks like a break in the line:
Repeat for other text in the image – it also is cool if you have a word across the middle of the screen and it breaks the border on either side:

Brand your image before posting on Social Media:
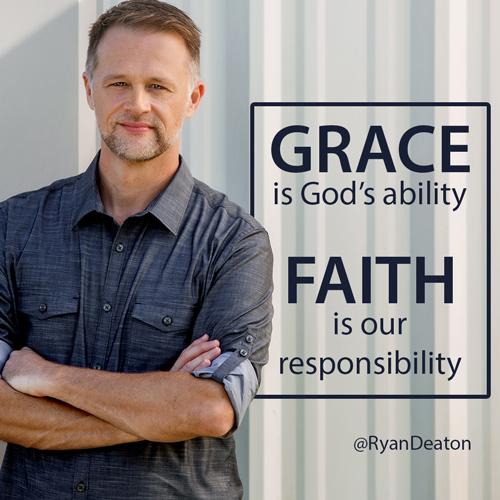
This effect can also be used to generate some pretty cool quotes from your Pastor or guest speaker for the weekend like this:
Click here to see how that effect works.